0
YES
0
MAYBE
0
NO
0
TRY AGAIN
0
NOT SURE
0
ASK LATER
INPUTS 0
🌀 0
Quick Link: Decision Maker Wheel, Tiny Decisions Wheel, should I go to work yes or no, USA College Wheel, Should I Do It? Yes or No
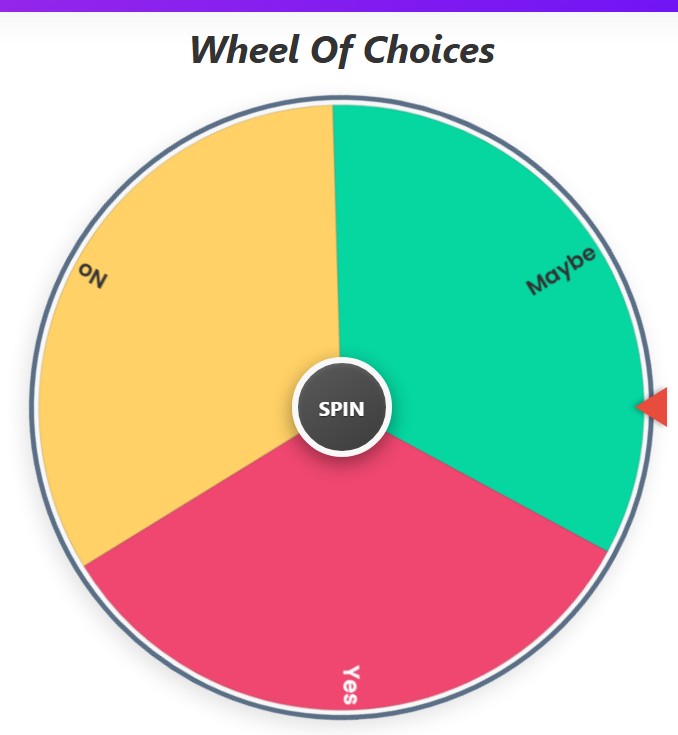
Yes or No Picker Wheel – Spin the Random Yes or No Wheel
Making decisions can sometimes feel surprisingly difficult, even when the choice is small. Should you go out or stay home? Pizza or pasta? Start one project or another? When you just want a quick answer, the Yes or No Picker Wheel makes the decision instantly.
The Yes or No Wheel is an interactive decision-making tool that randomly selects an answer when you spin it. Instead of flipping a coin, you can spin the wheel and let chance decide for you. The tool is simple, fast, and fun to use whether you’re making everyday decisions, playing games with friends, or brainstorming ideas.
Our random yes or no wheel allows you to spin and instantly receive an answer like YES, NO, MAYBE, or custom phrases that you add yourself. The wheel animation, colorful segments, and instant results make the process engaging and entertaining.
Whether you’re trying to settle a debate, pick an option fairly, or simply want a fun way to decide something, the yes no picker wheel provides an easy and unbiased solution.
How the Yes or No Wheel Works
The yes or no decision wheel works using a simple random selection system. When you click the spin button, the wheel rotates quickly and gradually slows down before stopping at one segment.
The pointer at the top of the wheel determines the final result.

The Pointer
- Highlights the selected segment after a spin.
- A static arrow, usually red, at the top or side.
SPIN Button
- Click it to start spinning; it temporarily disables itself during the spin.
- Located in the center of the wheel.
Counters Section
- Shows how many times each option has been chosen during the current session.
- Color-coded boxes: green = YES, red = NO, blue = MAYBE, orange = TRY AGAIN.
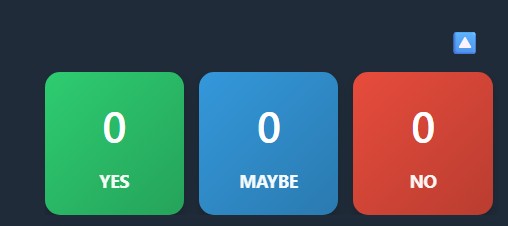
Counters Toggle
Collapse or expand the counters for more space using the arrow icon (🔼/🔽).
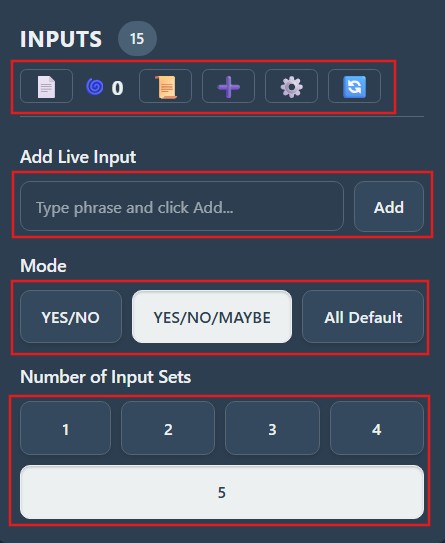
Input Controls Card
Labeled “INPUTS”, where you can customize the wheel: add phrases, choose modes, sets, and color palettes.
How to Spin the Yes or No Wheel 🎡
Step-by-Step Instructions
- Check Options: Make sure the wheel contains the segments you want.
- Click SPIN: Press the central button.
- Watch the Spin: The wheel rotates with a smooth animation and sound.
- See the Result: The pointer stops on the selected segment.
- Result Pop-Up: A modal shows the result with optional confetti and sound.
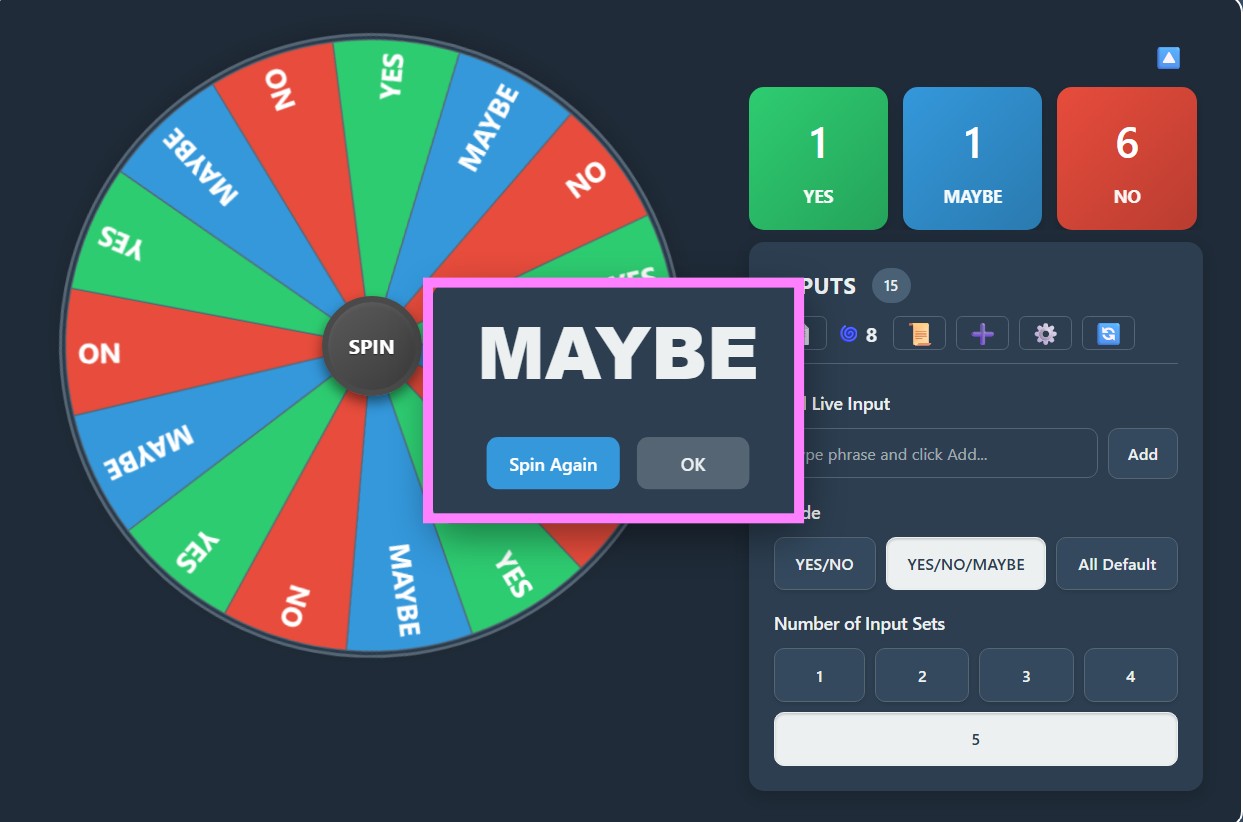
Next Actions from Pop-Up:
- 🔁 Spin Again: Instantly spin with the same configuration.
- ✅ OK: Close the pop-up and return to the wheel view.
Counter Updates:
Each spin increases the counter for the chosen segment.
Deep Dive: Input Controls and Customization ⚙️🎛️
The INPUTS card allows complete customization of your yes or no wheel.
a) Inputs Header Area
- Shows the total number of segments on the wheel.
- Quick access buttons:
- 📄 Blank Wheel: Clears all segments and resets counters.
- 🌀 Spin Count: Displays total spins in current session.
- 📜 History: View and clear past spins.
- ➕ Add Predefined Phrases: Quickly add phrases like “Definitely” or “Maybe Next Time.”
- ✅ Select/Deselect All: Add or remove all predefined phrases at once.
- 🎨 Color Palettes: Change segment colors instantly.
- 🔄 Reset: Restores the wheel to its default state.
b) Add Live Input
- Type any custom option in the text box and click Add.
- The wheel checks for duplicates and assigns a distinct color to each new phrase.
- Counters are automatically created for each custom phrase.
c) Mode Options
- ✅ YES/NO: Simple binary choice.
- ❓ YES/NO/MAYBE: Adds a middle-ground option.
- 🌀 All Default: Includes six core options: YES, NO, MAYBE, TRY AGAIN, NOT SURE, ASK LATER.
d) Number of Input Sets
- Determines how many times each mode option is repeated on the wheel.
- Adjusts probability of outcomes if custom phrases are added.
- Disabled in Blank mode.
5. Using the Wheel: Step-by-Step Examples
Example 1: Simple Yes/No Decision
- Select YES/NO Mode.
- Click SPIN.
- Let the wheel decide YES or NO.
Example 2: Choosing Between Custom Options
- Start with a Blank Wheel.
- Add options: “Pizza”, “Tacos”, “Salad”.
- Click SPIN — the wheel randomly selects one.
Example 3: Brainstorming or Adding Fun Phrases
- Select YES/NO/MAYBE Mode.
- Add predefined phrases: “Give It a Shot”, “Why Not?”, “Maybe Next Time”.
- Spin the wheel for a mix of standard and fun answers.
6. Benefits of the Yes or No Picker Wheel
✅ Breaks Decision Fatigue: Removes stress from small choices.
🎉 Fun & Random: Adds surprise to daily decisions or games.
🎨 Highly Customizable: Modes, sets, live input, and phrases.
⚖️ Fair & Random: Ensures impartial selection.
📊 Track Outcomes: Counters and history show past results.
🖌️ Visual Appeal: Color palettes make the wheel engaging.
👥 Perfect for Groups: Decide fairly with friends, family, or colleagues.
7. When to Use the Wheel
- 🔘 Binary Choices: YES/NO decisions.
- 🪙 Breaking Ties: Choose between equally weighted options.
- 🎮 Games & Activities: Random character, action, or challenge selection.
- 🧠 Brainstorming: Generate ideas or outcomes quickly.
- 🎓 Education: Pick random students, questions, or topics.
- 🧹 Daily Chores: Assign tasks randomly.
- 🍴 Meal Planning: Decide what to eat.
- 😵 Overcoming Indecisiveness: Let the wheel make the choice.
8. Technical Notes
- 🔊 Sound: May be blocked by browser settings.
- 🎊 Confetti: Uses canvas-confetti library.
- 📱 Responsive Design: Adapts to all devices using CSS media queries.
9. Conclusion & Call to Action
The Yes or No Picker Wheel is more than a simple coin toss.
Whether you need a quick YES/NO answer, want to select from multiple options, or create a fully customized wheel, this tool is flexible and engaging.
By mastering Modes, Sets, Live Input, Custom Phrases, History, and Settings, you can use it for decision-making, games, education, or just plain fun!
🎉 Ready to make decisions easier? Spin the Yes No Picker Wheel now and get instant answers!
🎬 Conclusion
The yes or no wheel (in this advanced form) offers much more than a simple coin toss.
Whether you need a quick YES/NO answer, want to choose from a standard set of possibilities,
or need to build a completely custom wheel with your own options and colors — this tool provides the flexibility.
By understanding how the Modes, Sets, Live Input, Custom Phrases, History, and Settings work together,
you can tailor it perfectly for decision-making, games, educational purposes, or just plain fun!
🧪 Experiment with the different options and see what combinations work best for you
when you need to spin the wheel yes or no.
🎉 Happy spinning!